

Step-by-Step Guide: Applying Semi Cured Gel Nail Wraps at Home
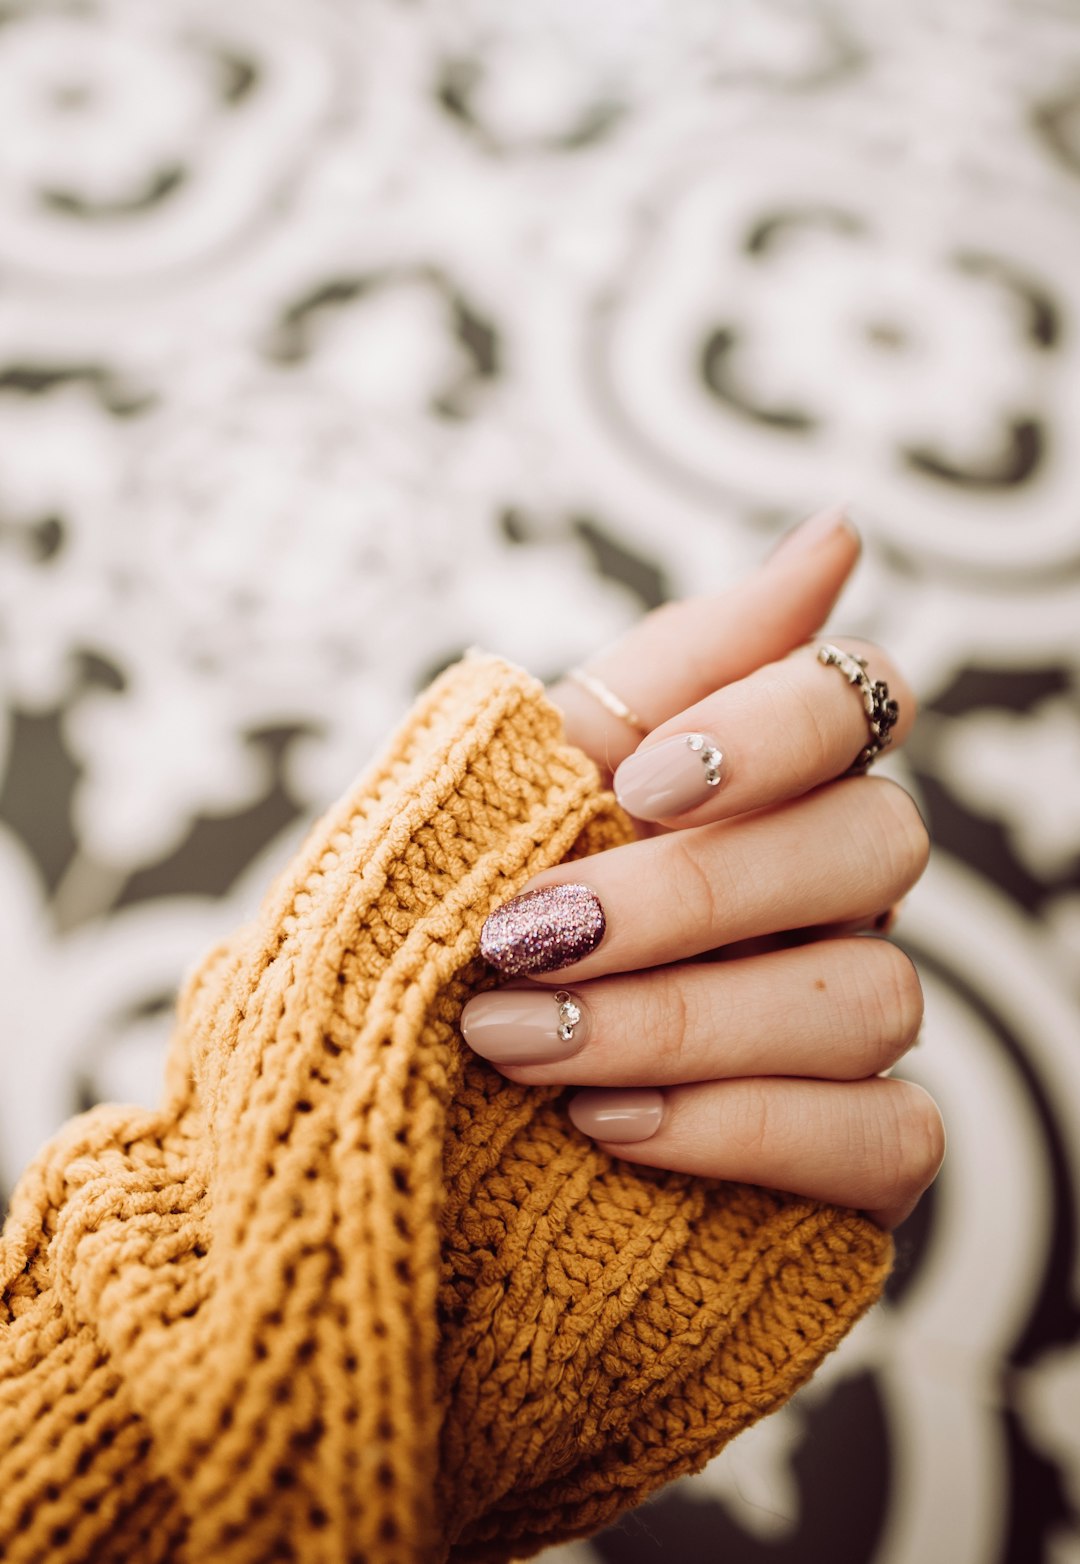
Having beautifully manicured nails is one of the best ways to express your personal style. However, going to a nail salon every time you want to change up your nails can be time-consuming and costly. That's where semi cured gel nail wraps come in. These convenient and easy-to-use nail wraps allow you to achieve salon-quality nails right at home. In this step-by-step guide, we will walk you through the process of applying semi cured gel nail wraps, giving you the freedom to express yourself and save money.
What Are Semi Cured Gel Nail Wraps?
Semi cured gel nail wraps are a type of nail product that combines the convenience of nail wraps with the long-lasting effects of gel nail polish. They are made from a flexible material that adheres to the nail and is then cured with a UV or LED lamp to provide a chip-resistant, high-gloss finish. These innovative nail wraps are available in a wide range of colours and patterns, allowing you to create stunning nail designs without the need for any special skills or tools.
Step 1: Preparation
Before applying the semi cured gel nail wraps, it's important to properly prepare your nails. Start by removing any existing nail polish using a gentle nail polish remover. Next, shape your nails using a nail file and gently push back your cuticles using a cuticle pusher. This will ensure that the nail wraps adhere properly and that the finished result looks professional.
Step 2: Nail Sizing
Semi cured gel nail wraps come in different sizes to fit various nail shapes and sizes. Select the appropriate wrap for each nail by comparing it with your natural nail. It's better to choose a slightly smaller wrap than a larger one to ensure proper adhesion.
Step 3: Application
Peel the nail wrap from its backing, being careful not to touch the adhesive side with your fingers. Align the rounded edge of the nail wrap with your cuticle and press it down firmly onto your nail. Smooth out any bubbles or wrinkles using a cuticle pusher or your finger. Repeat this process for each nail, ensuring that the wraps are applied evenly.
Step 4: Trimming and Shaping
Once all the nail wraps are applied, use a nail file to trim any excess material and shape the nails to your desired length and shape. Be gentle and careful not to file down the actual wrap, as this can cause it to peel or lift. Take your time to achieve a neat and tidy finish.
Step 5: Curing
If the semi cured gel nail wraps you're using require curing, it's time to activate them using a UV or LED lamp. Follow the instructions provided with the nail wraps to determine the appropriate curing time. Generally, a UV lamp will require approximately two minutes, while an LED lamp will only need around 30 to 60 seconds.
Step 6: Finishing Touches
Once the nail wraps are fully cured, you can apply a top coat to enhance the shine and prolong the wear of your manicure. Gently brush the top coat over each nail, being careful not to flood the cuticles. Allow the top coat to dry completely before using your hands.
Tips for Long-Lasting Results
To ensure that your semi cured gel nail wraps last as long as possible, follow these tips:
- Avoid exposing your nails to harsh chemicals or excessive moisture, as this can cause the wraps to peel or lift.
- Wear gloves when doing household chores or other activities that may damage your nails.
- Avoid using your nails as tools to prevent unnecessary stress and potential damage.
- Apply cuticle oil regularly to keep your nails nourished and hydrated.
By following these simple steps and tips, you can easily achieve salon-quality nails with semi cured gel nail wraps in the comfort of your own home. Say goodbye to expensive salon visits and hello to beautiful, long-lasting nails that reflect your unique style. Give it a try and enjoy the convenience and affordability of DIY nail care!
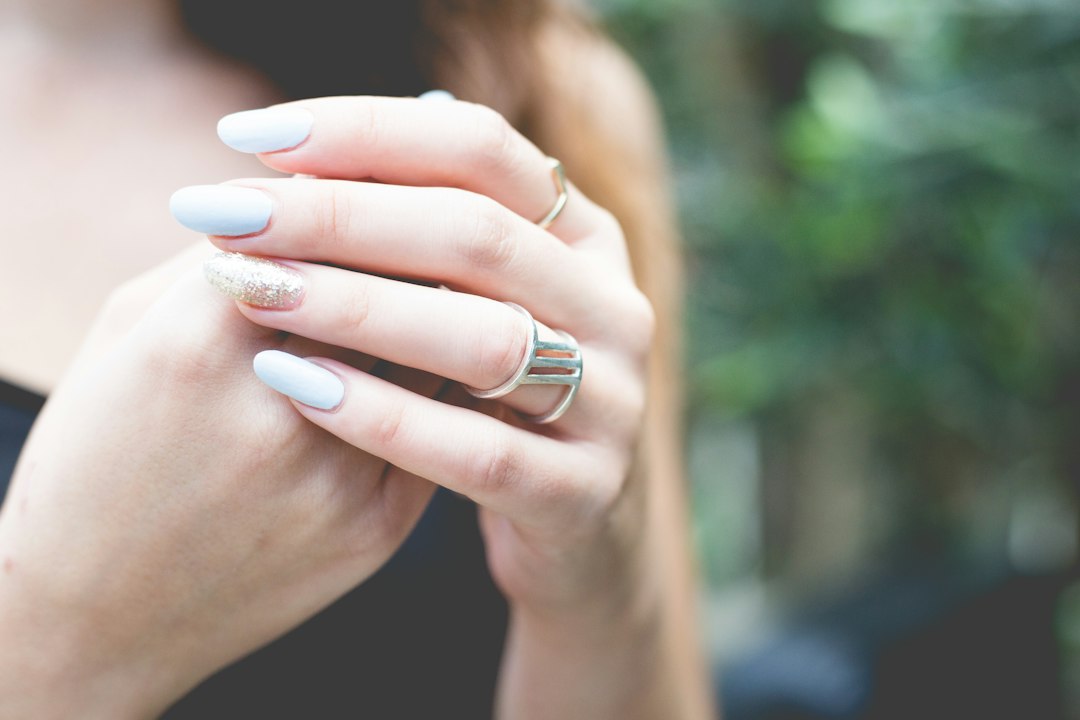
Express Your Style with Semi Cured Gel Nail Wraps
Ready to unleash your creativity and express your style through stunning nail designs? Semi cured gel nail wraps are the perfect solution. With their ease of use and long-lasting effects, you can achieve professional-looking nails without leaving your home. Follow our step-by-step guide, and you'll be rocking salon-quality nails in no time. Say goodbye to plain, boring nails and hello to a world of endless possibilities with semi cured gel nail wraps!
Read more
Tips for Applying Semi Cured Gel Nail Wraps with Ease
Are you someone who loves to have beautiful, salon-quality nails but finds it difficult to achieve the same results at home? Look no further! In this article, we will give you some valuable tips fo...
Read more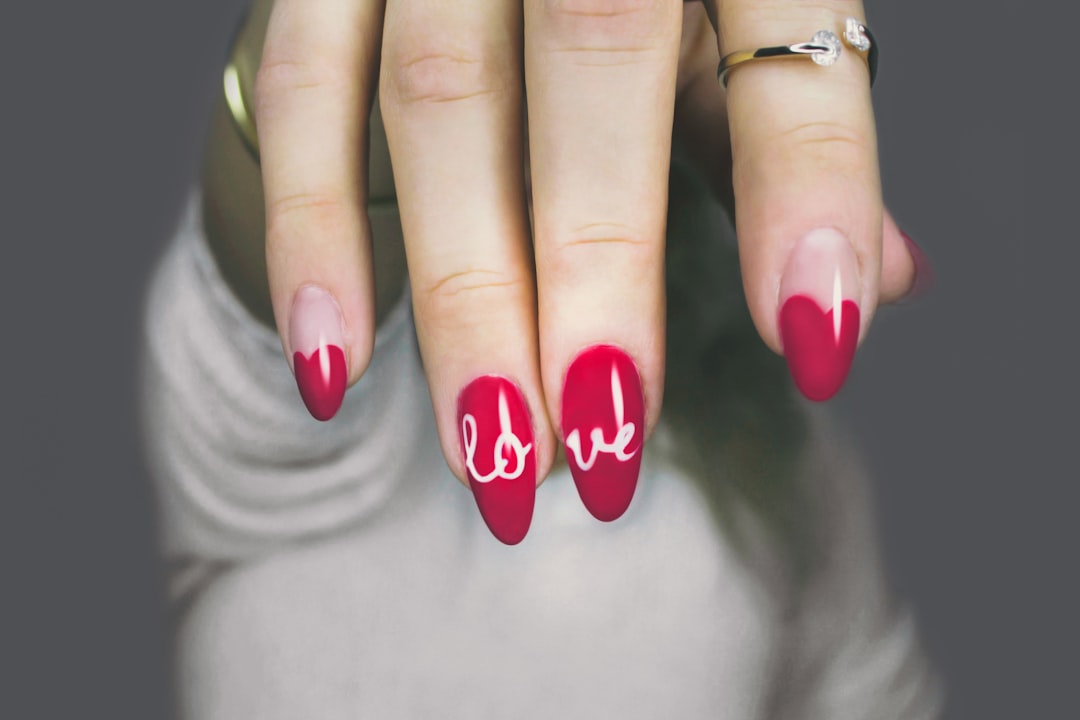
A Comparison: Semi Cured Gel Nail Wraps vs Traditional Nail Polish
When it comes to achieving beautiful nails, there are numerous options available on the market. Two popular choices that consistently deliver stunning results are semi cured gel nail wraps and trad...
Read more